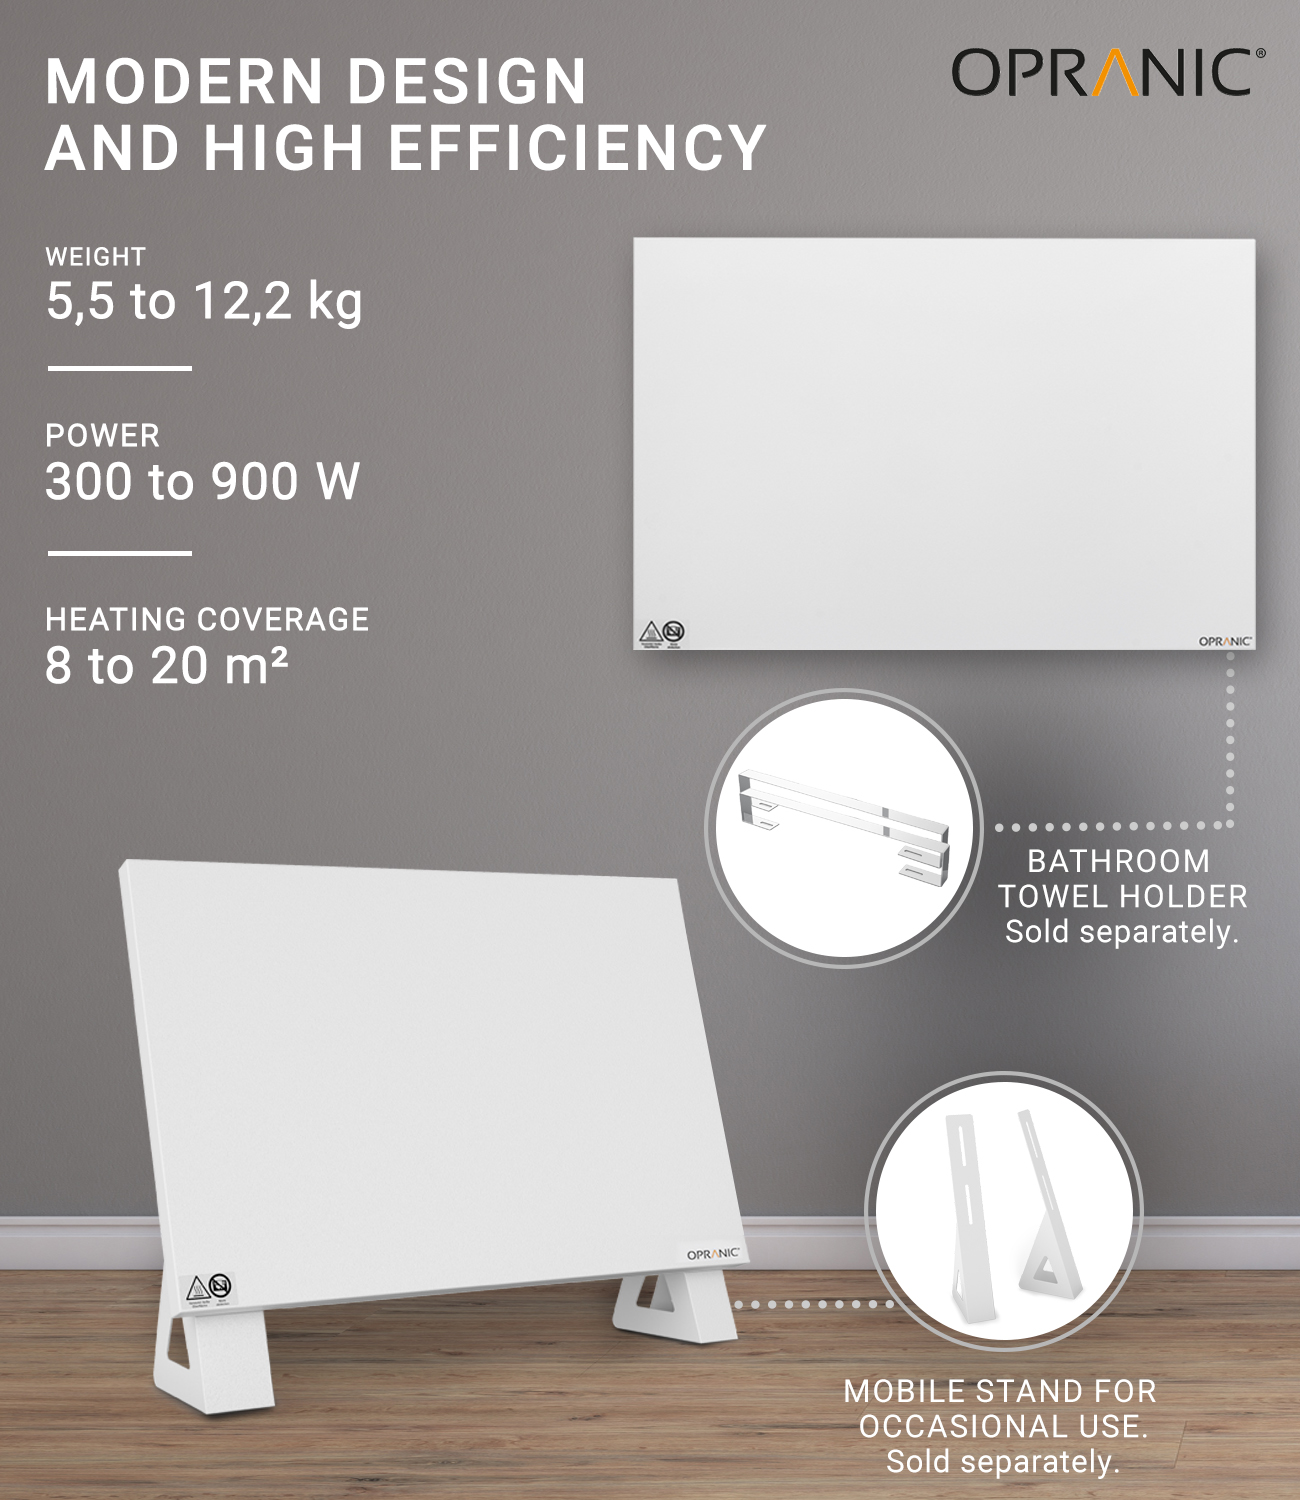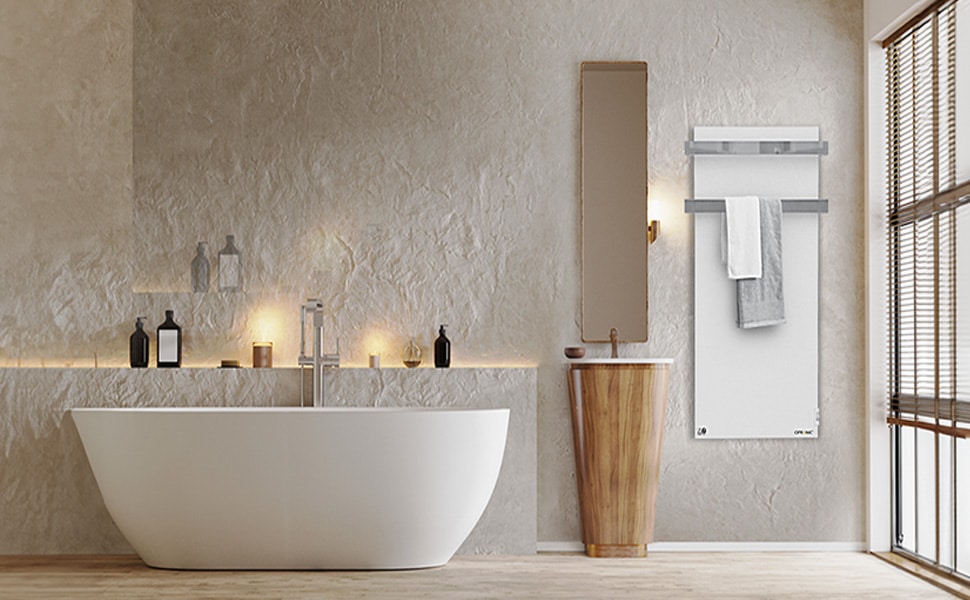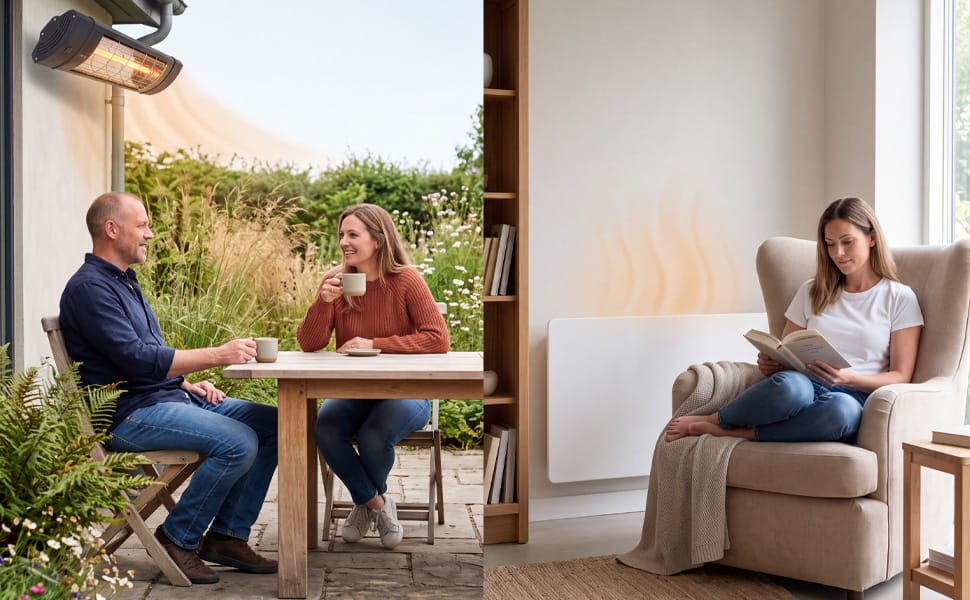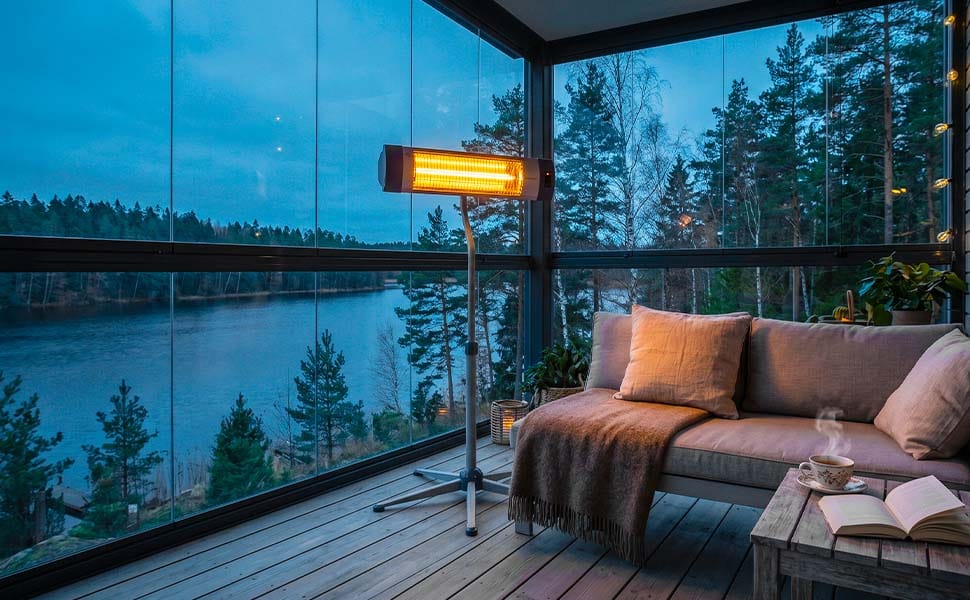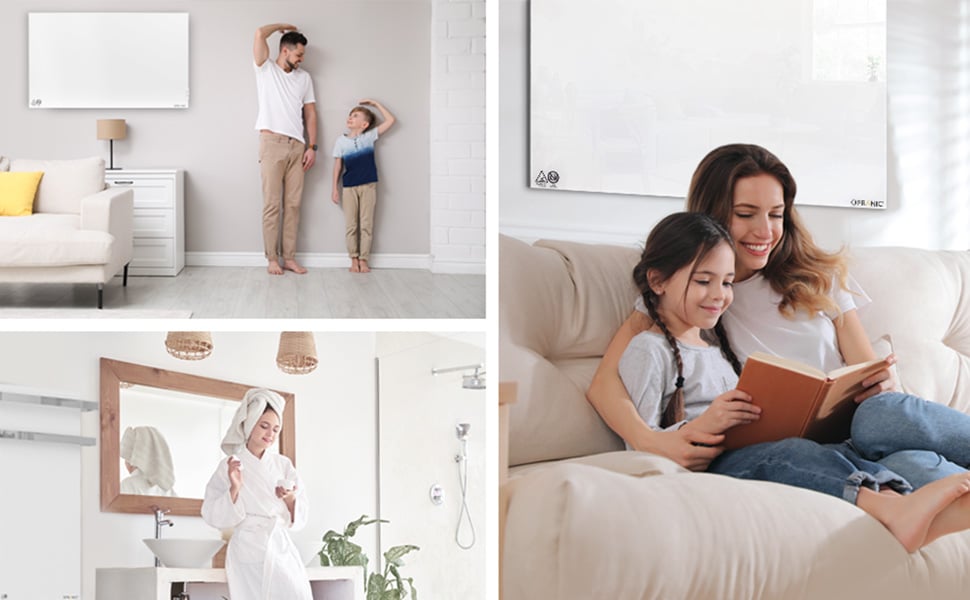
Good infrared panel placement directs radiant warmth to where you need it. Start with how you use the room: where you sit, which areas are unobstructed and how the furniture is arranged. The right mounting position also accounts for walkways and the clearances specified for your model.
In most rooms, an unobstructed wall is an option. Ceiling mounting is possible only with a model approved for it. The choice depends on the heater’s design, the power required and a clear path for radiant heat. This guide helps you assess the options and explains why one mounting height or minimum clearance cannot apply to every infrared panel.
Infrared panel placement: wall or ceiling?
Both options keep your floor clear. A wall-mounted panel can direct warmth towards the area where you sit or work. Ceiling mounting may make more sense when cupboards, doors or windows leave little usable wall space, but the model must be expressly approved for ceiling installation.
| Your room | A sensible starting point | What to check |
|---|---|---|
| Clear wall near a seating or work area | Wall mounting | Keep the front unobstructed. Required clearances must still be met when a chair is pulled out or a curtain is open. |
| Limited wall space and substantial furniture | Ceiling mounting with an approved model | A load-bearing surface, suitable fixings and a position above the area you intend to heat. |
| L-shaped room or separate occupied areas | Consider several appropriately positioned heaters | Plan the power and positions together. A single heater cannot radiate directly into areas screened from it. |
| Warmth is occasionally needed in another part of the room | Choose a model with an approved stand | Stability, unobstructed heat output and safe cable routing. Never simply lean a wall-mounted heater against a surface. |
Which Opranic models support each mounting option?
Mounting options and controls differ between models. Choose the configuration that suits your room first, then select the power and size.
| Model | Mounting | For your planning |
|---|---|---|
| Opranic P5 Metal | Wall or ceiling; freestanding with a suitable optional stand | Flexible placement. An external room thermostat is required and sold separately. |
| Opranic P6 Hybrid | Horizontal wall mounting; suitable stands available as an option | Radiant heat and natural convection. Keep the air openings clear and the built-in dial accessible. Its mechanical thermostat controls surface temperature; an external room thermostat is optional. |
| Opranic P7 Glass | Horizontal or vertical wall mounting | Glass front for fixed wall installation. An external room thermostat is required and sold separately. |
If you need a ceiling-mounted heater, the P6 and P7 are not alternatives to the P5. Before ordering, check that the brackets, stands and controls suit the configuration you have chosen.
Infrared panel placement: keep the heat path clear of furniture
An infrared panel transfers heat by thermal radiation to people and surfaces within its reach. Those warmed surfaces, and the heater itself, also transfer heat to the room air. Good infrared panel placement accounts for furniture: a tall cabinet or the back of a sofa can block direct radiation from reaching a seat. The heat is not lost, but it reaches the obstruction first.
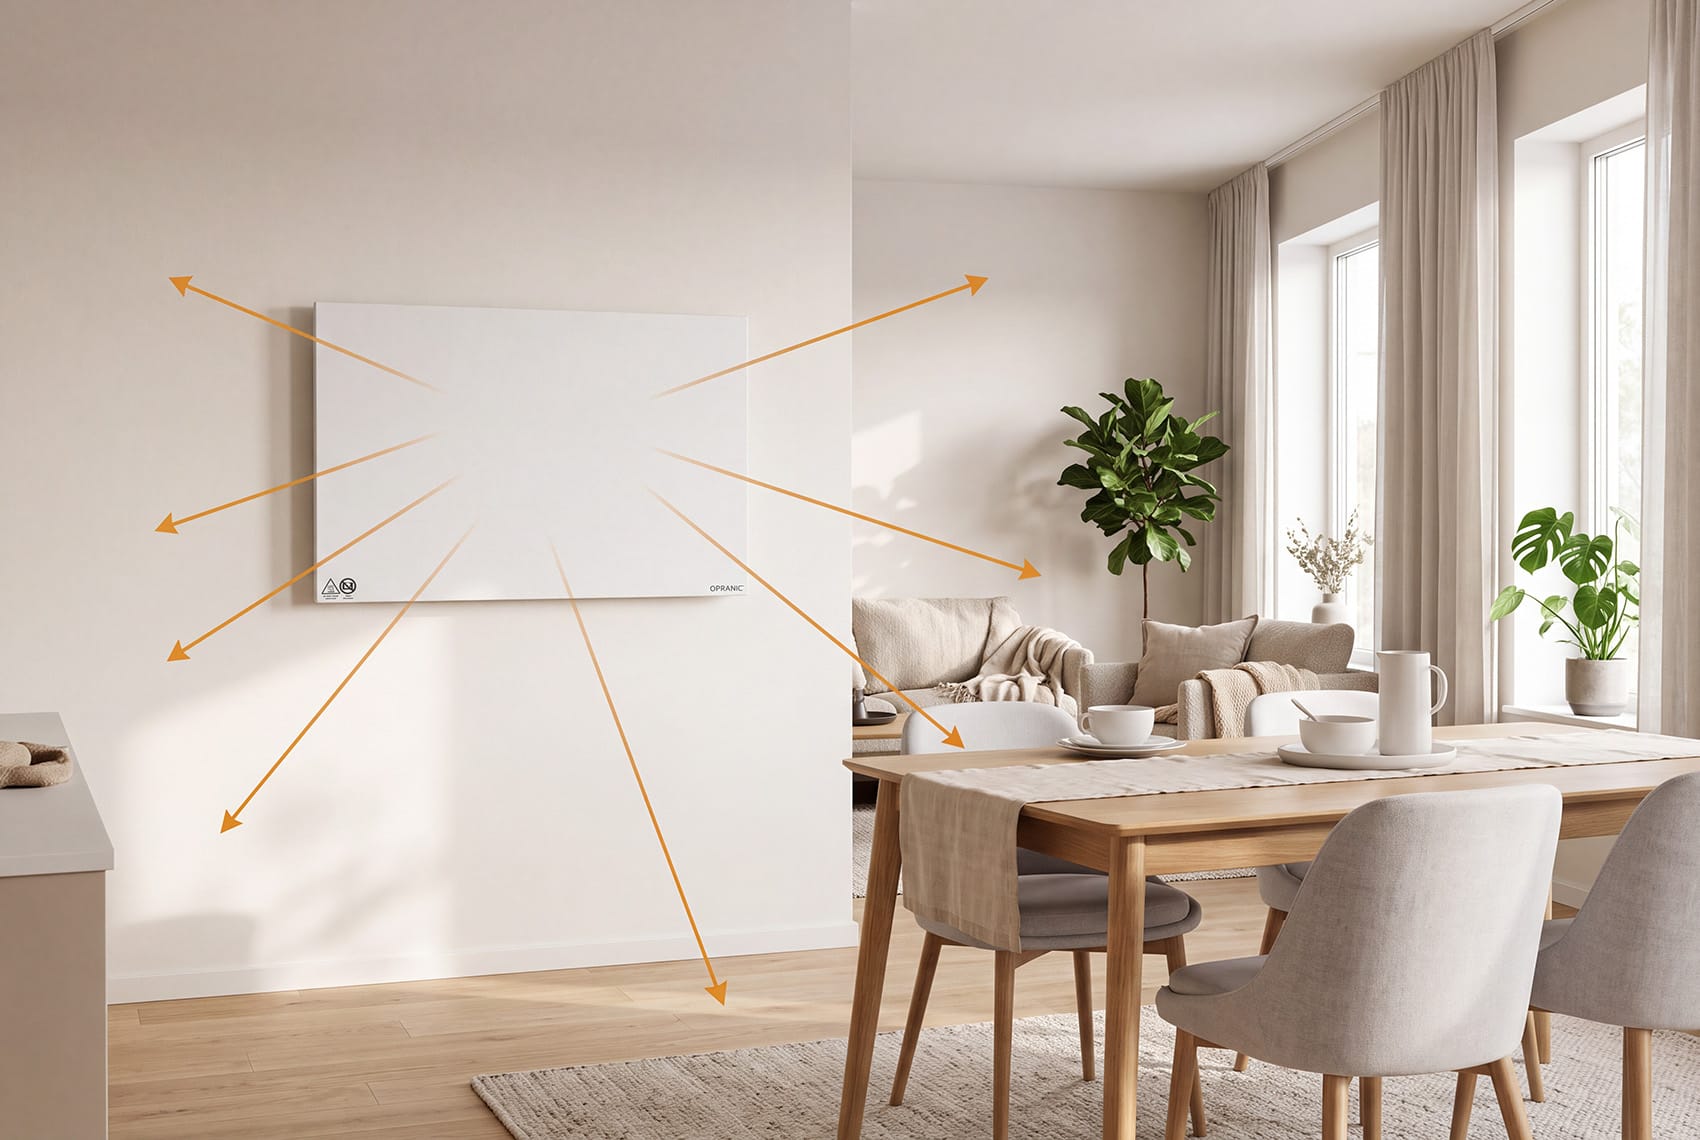
Before drilling, mark the heater’s outline in the proposed position. Arrange furniture and chairs as you would use them each day. Open doors and close curtains. This will show you whether the heating surface remains unobstructed during normal use.
With the P6 Hybrid, air must also be able to flow through the open housing and escape upwards. A tight recess or a shelf directly above the heater can restrict that airflow. Allow for clear space around the heater from the outset.
Infrarotheizung: Abstand zu Möbeln und Gegenständen
Der richtige Mindestabstand steht in der Anleitung des konkreten Modells. Unterscheiden Sie dabei zwischen dem Abstand vor der Heizfläche, seitlichen Abständen, dem Raum oberhalb des Geräts, dem Bodenabstand und dem Abstand der Rückseite zur Montagefläche. Ein einzelner Wert beschreibt diese unterschiedlichen Anforderungen nicht.
Konkretes Beispiel: Wandmontage der P6 Hybrid
Die P6-Bedienungsanleitung (Revision 2.3, Seite 22) nennt für die dort aufgeführten P6-Modelle folgende Mindestabstände bei Wandmontage:
| Position laut Anleitung | Mindestabstand |
|---|---|
| Oberhalb des Geräts (A) | 50 cm |
| Hinter dem Gerät (B) | 2 cm |
| Seitlich (C) | 10 cm |
| Vor der Heizfläche (D) | 30 cm |
| Zum Boden (E) | 15 cm |
Diese Tabelle gilt ausdrücklich für das P6-Beispiel und darf nicht als allgemeine Vorgabe für P5, P7 oder eine Deckenmontage verwendet werden. Vergleichen Sie die Modellbezeichnung am Gerät mit Ihrer mitgelieferten Anleitung. Bei abweichenden oder unklaren Angaben klären Sie die Montage vorab mit Opranic.
Infrarotheizung: Abstand zur Wand
Den Abstand zwischen Geräterückseite und Wand gibt die mitgelieferte Halterung vor. Für die P6 Hybrid nennt die Anleitung mindestens 2 cm hinter dem Gerät und 10 cm zu den Seiten. Nutzen Sie die vorgesehene Halterung, statt den rückseitigen Abstand selbst zu verändern.
Decken Sie die Heizung nicht ab und halten Sie Vorhänge sowie andere Textilien fern. Wählen Sie einen Platz mit geeigneter Stromversorgung, an dem das Kabel weder über heiße Flächen noch durch Laufwege geführt werden muss.
Infrarotheizung: Abstand zu Personen
Ein Sicherheitsabstand ist keine Empfehlung für den angenehmsten Sitzplatz. Selbst wenn der vorgeschriebene Abstand eingehalten wird, kann eine nahe Heizfläche an einem dauerhaft genutzten Platz als zu warm empfunden werden. Ein allgemeingültiger Sitzabstand lässt sich deshalb nicht für alle Modelle nennen.
Die Oberfläche wird im Betrieb heiß. Vermeiden Sie unbeabsichtigten Kontakt und berücksichtigen Sie besonders Kinder und andere schutzbedürftige Personen.
How high should you mount an infrared panel?
There is no universal height for infrared panel placement. Start with the model’s permitted mounting orientation and required clearances. Then check whether furniture blocks the heating surface and whether radiant warmth can reach the area you use.
A clear wall beside a desk may call for a different position from a wall behind a high-backed sofa. When mounting above furniture, consider the space between the furniture and the heater as well as its height above the floor. Appearance alone should not determine the position.
For ceiling mounting, assess the heater, its fixings and the ceiling structure together. A suspended ceiling needs a suitable supporting structure that can safely bear the load. In a high-ceilinged room, have the proposed position and heating output checked against how you use the space.
Opposite a window or on an external wall?
Infrared panel placement does not follow a fixed rule about windows. Glazing, external walls and draughts affect how much heat your room needs, but none determines the position on its own. What matters is that radiant warmth reaches the area you use and that the panel can be installed there in accordance with its instructions.
With large areas of glazing, a seat may feel cool even when the measured air temperature is comfortable. Account for this when planning the heating capacity. Moving the panel cannot make up for insufficient power, draughty windows or heat loss from a poorly insulated room.
If several wall positions are possible, choose one that provides a clear path for radiant heat, secure fixing and the required clearances. Include curtains and movable furniture in that assessment.
Practical examples for living and working spaces

Living room with a sofa
Start with an unobstructed wall that gives the heater a clear path towards the seating area. If you mount it behind a high sofa back, the sofa will intercept some of the direct radiant heat. Where the available walls are less suitable, a model approved for ceiling mounting may be an option. Compare both positions against the furniture as it is arranged in your room.
Home office with a desk
Consider where you normally sit and how far your office chair moves. A solid desktop can block direct radiant heat from reaching your legs. Check not only that the heater fits the space, but that its warmth reaches you where you spend time sitting. Keep cables clear of the chair’s path.
Bedroom
Choose a mounting position that meets the model’s specified clearances from bedding, curtains and wardrobes. Textiles must not cover the heating surface, and it should be positioned to prevent accidental contact. A suitable room thermostat lets you set the temperature around the times you use the bedroom.
L-shaped room or separate areas
Infrared heat does not travel directly around a corner. If you use distinct areas of a room, it may make sense to divide the required heating power between suitably positioned heaters. Two heaters rated at 700 W each provide 1,400 W of installed power, for example. Whether that is sufficient still depends on the room’s heating requirements.
Bathroom
Bathroom placement also calls for an assessment of the electrical installation. An IP rating alone does not determine where a heater may be mounted. Have the proposed position and connection checked against the model instructions and local installation requirements. The P6 manual, for example, rules out mounting inside a shower enclosure or directly above a bath.
Thermostat, Heizleistung und Platzierung gemeinsam planen
Die Position des Raumfühlers beeinflusst, wie die Heizung regelt. Er sollte die Temperatur des genutzten Raums erfassen und nicht unmittelbar durch das Heizgerät, direkte Sonne oder Zugluft beeinflusst werden. Beachten Sie dazu die Anleitung des gewählten Thermostats.
P5 und P7 benötigen einen passenden externen Raumthermostat. Bei der P6 regelt der eingebaute mechanische Thermostat die Oberflächentemperatur; er ist nicht mit einem separat im Raum platzierten Temperaturfühler gleichzusetzen. Eine kompatible externe Regelung ist optional möglich.
Die Platzierung ersetzt keine Dimensionierung. Raumgröße, Dämmung, Fensterflächen, Deckenhöhe und gewünschte Temperatur bestimmen mit, wie viel Heizleistung erforderlich ist. Für größere oder schlecht gedämmte Räume empfiehlt sich eine individuelle Planung. Die genannten Opranic-Heizgeräte sind für gut isolierte Räume oder den gelegentlichen Gebrauch vorgesehen.
Die spätere Stromrechnung hängt von Leistung und tatsächlicher Einschaltzeit ab. Ein Thermostat kann die Heizung zeitweise abschalten, sodass acht Stunden Nutzungszeit nicht automatisch acht Stunden durchgehenden Betrieb bedeuten. Wie Sie das berechnen, erklärt unser Ratgeber zum Stromverbrauch einer Infrarotheizung. Weitere Grundlagen finden Sie in der Kostenanalyse für Infrarotheizungen.
Before installation: five points to check
- Model and mounting method: Is the heater approved for wall or ceiling mounting, or for use with the intended floor stand?
- Everyday use and furniture: Can heat reach the room without obstruction, even when chairs are moved or curtains are closed?
- Clearances: Can you meet every minimum clearance specified for the model, including above and behind the heater?
- Fixings and electrical supply: Are the surface, fixings, bracket and power supply suitable? A qualified electrician should make any fixed electrical connection.
- Controls and power: Are the thermostat, sensor position and heating power suited to the room?
Infrared panel placement: questions about clearance and positioning
How far should an infrared panel be from people?
There is no seating distance that applies to every model. Follow the clearance requirements in your model’s instructions, avoid contact with the hot surface and choose a seat where the warmth remains comfortable over time.
Can I mount an infrared panel behind the sofa?
It depends on the model, mounting height, height of the sofa back and required clearances. A high sofa back can block direct radiant heat. Consider an unobstructed wall position or a suitable ceiling-mounted model before choosing the space behind the sofa.
Is the ceiling always the better place to mount it?
No. Ceiling mounting can be useful when wall space is limited, but suitability depends on the model, ceiling height, fixings and room layout. The Opranic P5 can be mounted on a wall or ceiling. The P6 Hybrid is designed for horizontal wall mounting; the P7 is for wall mounting only, horizontally or vertically.
Can I move the heater later?
Yes, provided the new position meets all mounting and electrical connection requirements. Switch the unit off, disconnect it from the power supply and let it cool first. A fixed heater must be securely mounted again in its new position. If you expect to move it frequently, a model with approved optional stands may be more suitable.
Does changing its position automatically reduce electricity use?
Careful placement can improve comfort, but it does not guarantee a particular percentage saving. Heat loss, temperature, thermostat control and operating time still determine electricity use.
Die passende Infrarotheizung für Ihren Raum
Sind bei Ihrer Infrarotheizung Abstand, Montageart und Platz geklärt, gleichen Sie diese Anforderungen mit den Montagemöglichkeiten der Modelle ab. Für Wand oder Decke bietet die P5 viel Flexibilität. Die P6 verbindet Strahlungswärme mit natürlicher Konvektion, die P7 setzt auf eine Glasfront für die Wand.
Opranic-Infrarotheizungen vergleichen oder Beratung zur Auswahl anfragen. Hilfreich sind eine einfache Raumskizze, Abmessungen, Deckenhöhe und Angaben zu Fenstern, Dämmung und Möblierung.
Grundlage der modellbezogenen Angaben: aktuelle Produktinformationen zu Opranic P5, P6 Hybrid und P7 sowie die verlinkte P6-Bedienungsanleitung. Geprüft im Oktober 2026. Beachten Sie für die Installation stets die zu Ihrem Gerät gehörende Anleitung.